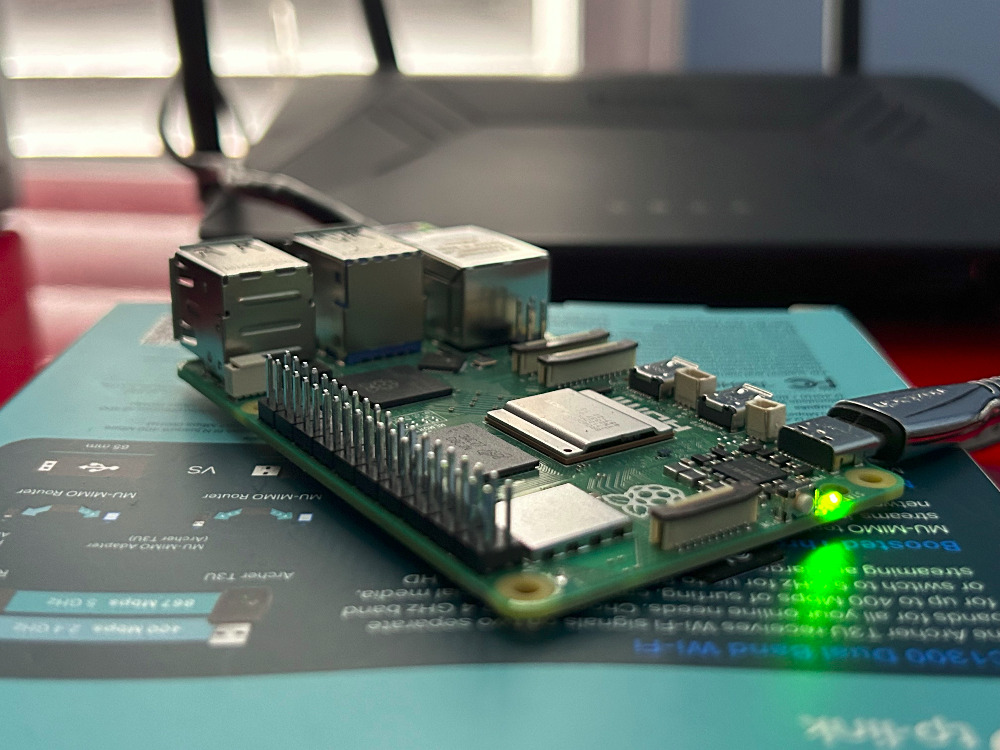
⠀The Raspberry Pi is a tiny, power-efficient, ARM-based computing device; however, these qualities don’t stop it from being performant and capable. I used a Raspberry Pi 5 (8 GB) as a server in my home lab. The set-up was simple!
⠀To use a Raspberry Pi, you’ll have to get one. They’re not in surplus supply. Try checking different retailers that ship the board online. If you have a Micro Center location near you, visit there to see if they have any in stock. This is how I managed to get one.
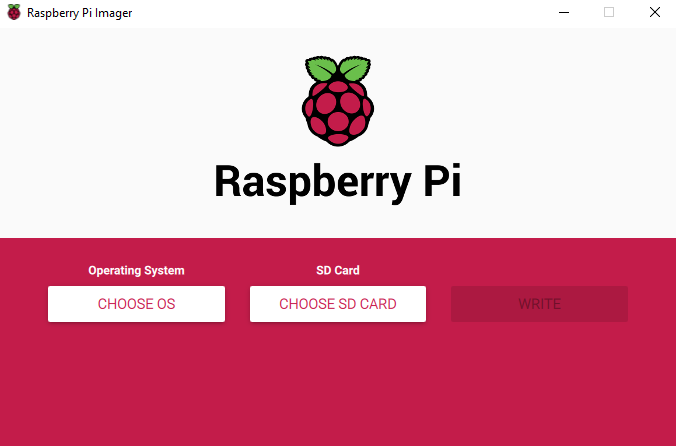
⠀The Raspberry Pi uses an SD card as its storage device. To boot a Raspberry Pi, you need to get a bootable image of the operating system you intend to use onto an SD card. The easiest way to do this is using the Raspberry Pi Imager. Download it here. Use it to flash an image onto an SD card using your current computer, then put that SD card into the Raspberry Pi. You can set up SSH in the imager, then connect to your fully functional Raspberry Pi right when you turn it on!
I downloaded Raspbian, then set up Portainer to manage Docker containers with a simple GUI. This simplifies the process of configuring and maintaining Docker containers significantly. I also set up a MacVlan network which allowed me to give each container a custom IP and Mac Address, making them operate just like separate computers. This was perfect for hosting multiple websites using the Raspberry Pi. It was a bit tricky and unintuitive to set it up, so if you’d like a tutorial on how to do this, let me know.
⠀Using containers, there’s a ton of possibilities. I’ll be able to test out new technologies and create new experiences for the users of my home lab network. This Raspberry Pi model (5, 8 GB) has 4 cores and 8 Gigabytes of RAM, so it has the computing power to run multiple containers, all at a low level of power consumption and a price of under $100.
Leave a Reply